Development Environment Using Docker for Laravel Jetstream Applications

This article provides details on how to setup development environment using Docker implementing a LEMP server used for developing Laravel Jetstream applications.
This guide is a step by step to get everything up and running as a basis to create an application.
I will be using Laravel Jetstream with the Livewire + Blade stack (which utilises Tailwind CSS)
Features out of the box include:
- Authentication
- Registration
- Profile Management
- Password Update
- Password Confirmation
- Two Factor Authentication
- Browser Sessions
- API
- Teams
The contents of this article will cover stages:
- What is Laravel Jetstream
- Tech Stack
- Setup Development Environment
- Installing Laravel
- Application Screenshots
- Quick Start Guide
What is Laravel?
Laravel is a framework for the PHP programming language. You can read more in my guide to getting started with PHP Laravel Framework
What is Laravel Jetstream?
What is Laravel Jetstream? Laravel Jetstream is an open-source package developed by the Laravel team.
Is laravel Jetstream free? Yes, the Jetstream package is free, as is the Laravel framework it is developed on to of. The laravel Jetstream package contains the basic authentication scaffolding and more.
I will be using Laravel Jetstream with the Livewire + Blade stack (which utilises Tailwind CSS)
What are teams in laravel Jetstream?
In Laravel jetstream the ‘teams’ functionality is built on top of the basic user management. Teams add functionality to this basic structure. It adds users roles, permissions and allows users to be associated with a ‘team’.
User Profile Management
User management includes:
- Display and update profile picture.
- Contains profile name, along with email and password.
- Records Browser Sessions and allow session control (like log out other devices).
- Option for users to delete account.
- Two Factor Authentication
Team Management
Teams management includes:
- Create a Team
- Add and update users to a team
- Manage Team, update team display name.
- User can Switch Team between multiple teams they belong to.
- Manage the role and permission of the members of a team.
Tech Stack
I am going to be using a few different technologies for this particular setup.
For the server, fairly standard:
- Ubuntu Linux
- MySQL
This would technically count as a LEMP stack. [LEMP] = Ubuntu + Nginx + MySQL + PHP
For the application, I am going to be using:
- Laravel
- Jetstream
- livewire
- tailwind css
- fortify
The next section will cover the setup of my local development environment.
Setup Development Environment
The first step is to setup our local development environment (DevEnv). I often use docker to achieve this.
The development environment used in this project is:
- L - Linux
- E - Nginx
- M - MySQL
- P - PHP
This docker container along with basic Laravel install is available from this repository.
https://github.com/aalshukri/DevEnv-Docker-LEMP-Laravel_Jetstream
You can read more about the various other development environments I have used in the past.
Installing Laravel
I will be using php framework Laravel to develop this application.
I started up my DevEnv container, and then connected to the Linux terminal running inside the docker container. (see the connect.sh script)
This would then allow me to install a fresh version of the Laravel (https://laravel.com/) using composer via the command line.
Below is the set of instruction I used to achieve this.
Installation Via Composer
> composer create-project laravel/laravel <project-name> > composer create-project ---prefer-dist laravel/laravel
You will get output similar to the following:
Creating a "laravel/laravel" project at "./<project-name>"

Installing laravel/laravel (v8.5.17)
  - Installing laravel/laravel (v8.5.17): Downloading (100%)
Created project in /<project-name>
...
Loading composer repositories with package information
...
Updating dependencies (including require-dev)
Package operations: 104 installs, 0 updates, 0 removals
...
Writing lock file
Generating optimized autoload files
...
> @php artisan key:generate --ansi
Application key set successfully.
After the installation was completed, you can check everything has worked so far by navigating to your project folder, and running the following command.
> php artisan --version
You should get output something like below, showing you the version of the Laravel framework used.
Laravel Framework 8.41.0
If you get something like the following error, then it is likely you have some problems with the path of your composer installation.
php artisan --version
PHP Warning:  require(vendor/autoload.php): failed to open stream: No such file or directory in artisan on line 18
PHP Fatal error:  require(): Failed opening required 'vendor/autoload.php' (include_path='.:/usr/share/php') in artisan on line 18
You can try and run the composer install command and then update composer paths to solve this problem.
> cd <project-name>
> composer install
> composer dump-autoload
Setup Laravel
Setup you .env file.
composer dump-autoload
php artisan cache:clear
php artisan config:clear
php artisan view:clear
php artisan optimize:clear
Install Livewire + Jetstream + Fortify
Livewire
Install livewire
> composer require livewire/livewire
> php artisan livewire:publish --config
Jetstream
To install Jetstream library, first install via composer:
> composer require laravel/jetstream
If you get the following error, then you might need to change a few permissions.
file_put_contents(./composer.json): failed to open stream:
Operation not permitted
To change composer permissions, issue the command
sudo chown -R $USER ~/.composer/
chown -R root ~/.composer/
To configure jetstream, with the option of teams.
> php artisan jetstream:install livewire --teams
Then we need to do a application build.
npm install
npm run dev
If you are having problems with npm run dev
update to new version of nodejs.
cd ~
curl -sL https://deb.nodesource.com/setup_14.x -o nodesource_setup.sh
bash nodesource_setup.sh
apt install nodejs
Then configure the database.
php artisan migrate:fresh
Then setup the blade views and routes.
php artisan vendor:publish --tag=jetstream-views
php artisan vendor:publish --tag=jetstream-routes
php artisan route:clear
Fortify
composer require laravel/fortify
php artisan vendor:publish –provider=”Laravel\Fortify\FortifyServiceProvider”
Possible Errors during installation
laravel jetstream 404 current-team
laravel jetstream 404 create new team
laravel jetstream 404 update team
laravel jetstream cannot create new team
laravel jetstream cannot update current team name
laravel jetstream cannot update profile picture
I did get some of these problems. To resolve, I finally found the problem to be the livewire js not loading. you might need to check the asset url ASSET_URL in livewire config file /www/config/livewire.php. This solved my problem of the JS loading.
Folder Structure
.
├── README.md
├── docker
│   ├── build.sh
│   ├── config.sh
│   ├── connect.sh
│   ├── docker-compose.yml
│   ├── phpdocker
│   ├── setup
│   ├── start.sh
│   └── stop.sh
└── www
    ├── app
    ├── artisan
    ├── bootstrap
    ├── composer.json
    ├── composer.lock
    ├── config
    ├── database
    ├── node_modules
    ├── package-lock.json
    ├── package.json
    ├── phpunit.xml
    ├── public
    ├── resources
    ├── routes
    ├── server.php
    ├── storage
    ├── tailwind.config.js
    ├── tests
    ├── vendor
    └── webpack.mix.js
Application Screenshots
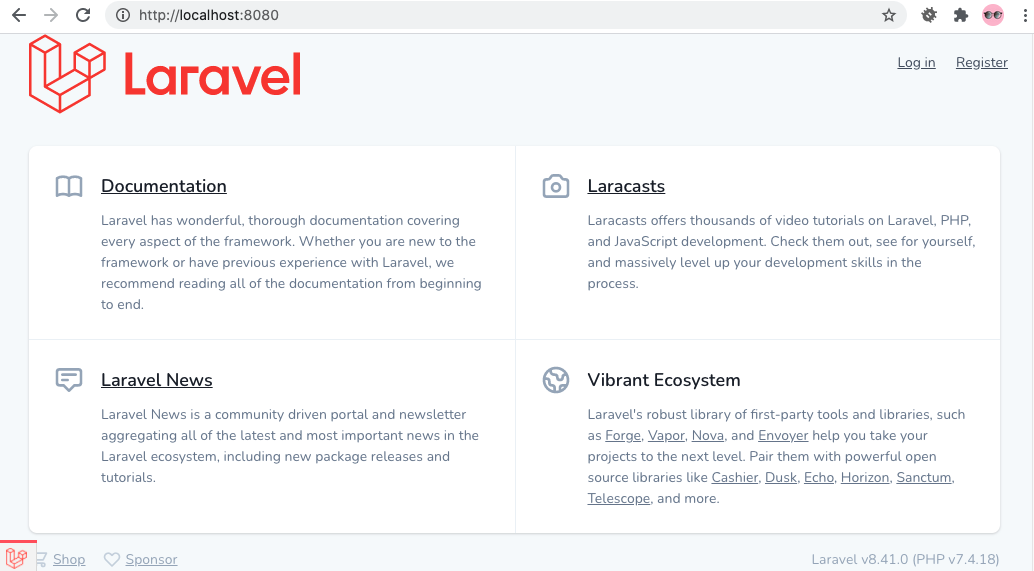
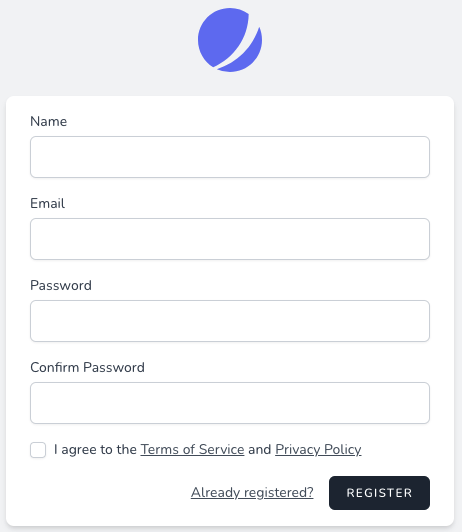
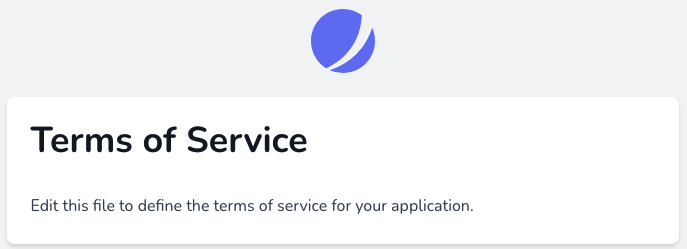
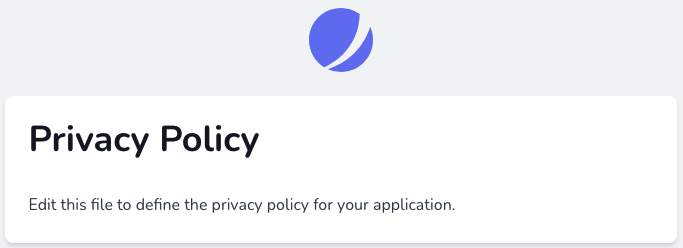
Once you have completed the steps above, the application that you have should look like the screenshots below.
laravel jetstream welcomepage
laravel jetstream registerpage
laravel-jetstream-tospage.png
laravel-jetstream-pppage.png
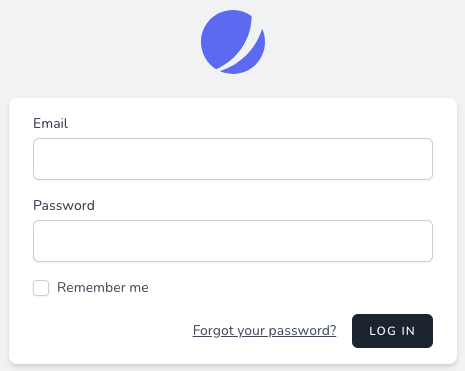
laravel-jetstream-loginpage.png
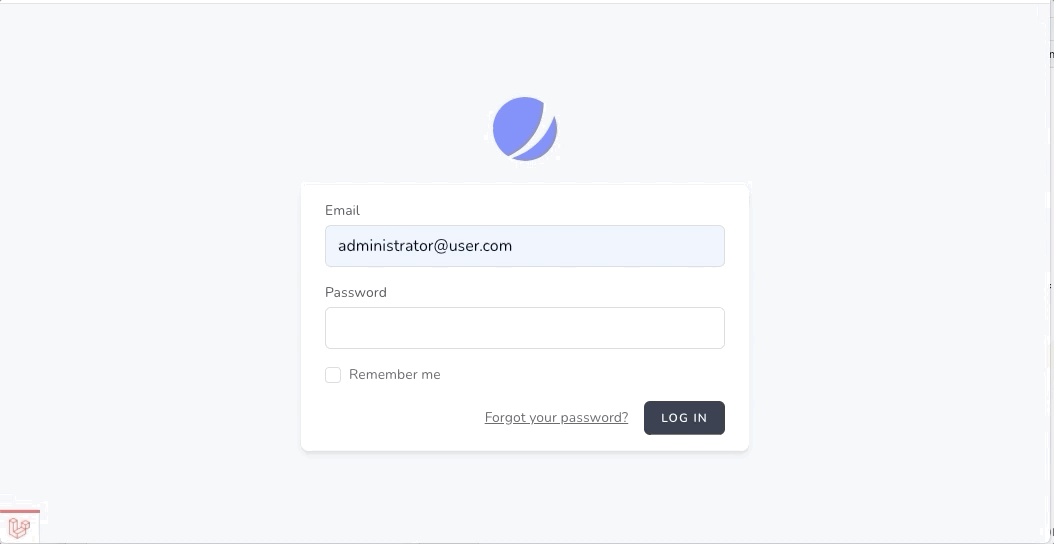
jetstream login process
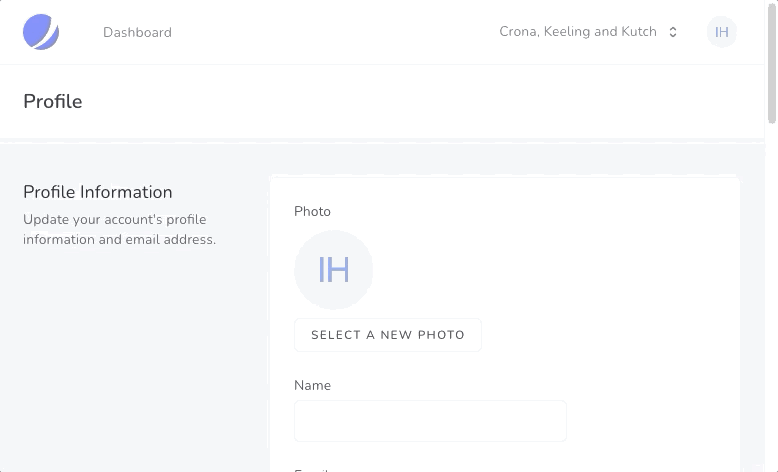
user profile
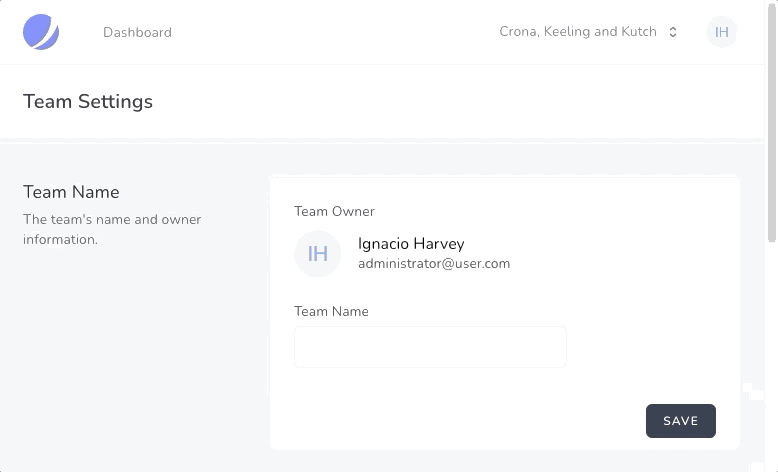
teams
Quick Start Guide
https://github.com/aalshukri/DevEnv-Docker-LEMP-Laravel_Jetstream
To get this docker container up and running simply build and start using the following commands from within the docker directory.
> cd docker
> ./build.sh
> ./start.sh
> ./config.sh
You can access the application at https://127.0.0.1:8080/ or https://localhost:8080/
Note; the build.sh and config.sh commands are only needs the first time, but won’t harm to run each time. Once finished call the stop command to bring down docker container and application.
> ./stop.sh
While the docker container is running, ie after running ./start you can connect to the web server to run commands as if you would any other server. Use the following command to connect
> ./connect.sh
The following section provides further details on the docker methods used within each script.
Application Access
- Main Application:
http://localhost:8080/ - PhpMyAdmin:
http://localhost:8181/ - Email (SMPT catcher)
http://localhost:3000/
Database
MySQL and PHPMyAdmin
PhpMyAdmin
You can access the database using phpmyadmin within this project. Navigate to this url http://127.0.0.1:8181/index.php
Enter the following details
- Server: webapp-mysql
- Username: webapp_user
- Password: password
Acknowledgements
This project is based on https://github.com/aalshukri/DevEnv-Docker-LEMP-Laravel.
Main differences between DevEnv-Docker-LEMP-Laravel and DevEnv-Docker-LEMP-Drupal are the following:
- Ubuntu 20.04 from 18.04
- PHP 7.4 (php7.4-fpm.sock) from 7.2