Development Environment Using Docker for Laravel Applications

This article provides details on how to setup development environment using Docker implementing a LEMP server used for hosting Laravel applications.
- L - Linux
- E - Nginx
- M - MySQL
- P - PHP
In particular, the flavours and versions of the LEMP components used in this stack are as follows:
[LEMP] = Ubuntu 18.04 Base Image + Nginx + MySQL + PHP 7.2
This docker container along with basic Laravel 8 install is available from this repository.
https://github.com/aalshukri/DevEnv-Docker-LEMP-Laravel
Below is a guide to get this up and running.
Quick Start Guide
To get this development environment up and running simply build the docker container and start it using the following commands from within the docker directory.
> cd docker
> ./build.sh
> ./start.sh
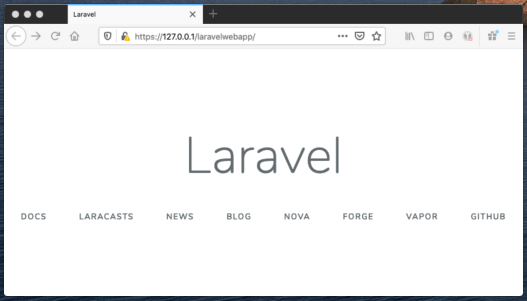
You can access the application at https://127.0.0.1/laravelwebapp/
Once finished call the stop command to bring down docker container and application.
> ./stop.sh
The following section provides further details on the docker methods used.
Using Quick Start Guide
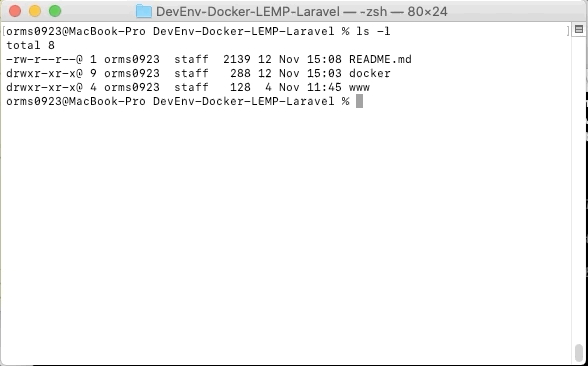
Below shows the quick start commands being executed.
The results of visiting local running from docker development environment.
Folder Structure
DevEnv-Docker-LEMP-Laravel
├── README.md
├── docker
│   ├── build.sh
│   ├── docker-compose.yml
│   ├── lemp-base
│   │   └── Dockerfile
│   ├── lemp-dev
│   │   ├── Dockerfile
│   │   ├── conf
│   │   └── setup
│   ├── start.sh
│   └── stop.sh
└── www
    ├── index.html
    └── laravelwebapp
        ├── app
        ├── artisan
        ├── bootstrap
        ├── composer.json
        ├── composer.lock
        ├── config
        ├── database
        ├── package.json
        ├── phpunit.xml
        ├── public
        ├── resources
        ├── routes
        ├── server.php
        ├── storage
        ├── tests
        ├── vendor
        └── webpack.mix.js
Build
You only need to build the application once. Once built, you can simply run the application each time you need to use this development environment to develop your Laravel application.
Follow the two steps to build your docker development environment
1. Build the base image.
> cd docker/lemp-base
> docker build . -t lemp-dev-base
Check image with name ‘lemp-dev-base’ has been created
> docker images
2. Build the application image (which will utilise the base image created in step 1).
Move into directory ‘docker/lemp-dev’.
> cd ..
> cd lemp-dev
Build the application image
> docker build . -t lemp-dev
Again, to check this image was created run the command and look for ‘lemp-dev’ has been created
> docker images
Run
Navigate to directory ‘/docker’ and start the docker container using
> docker-compose up -d
This will start a docker container named ‘laravelwebapp’. serving up the contents of folder ‘/www/’.
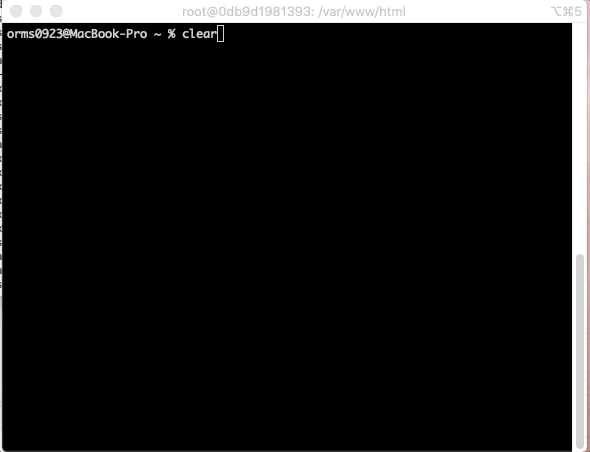
To connect directly to this container (LEMP server)
> docker exec -it laravelwebapp /bin/bash
To stop the docker container use
> docker-compose down
Access
View web page at the following url
https://localhost/index.html
https://127.0.0.1/index.html
Served from folder ‘/www/index.html’
or
https://localhost/laravelwebapp/
https://127.0.0.1/laravelwebapp/
Served from Laravel application ‘/www/laravelwebapp/public’
MySQL Database
A database is setup as part of this development environment and has been preconfigured for a basic Laravel application.
You can see the SQL script used to setup the database in the directory.
DevEnv-Docker-LEMP-Laravel/docker/lemp-dev/setup
laravel.sql
# Creating the MySQL database
CREATE DATABASE IF NOT EXISTS `laravel`;

# Creating the MySQL user
CREATE USER 'laravel_user'@'%'
IDENTIFIED WITH mysql_native_password BY 'password';

GRANT SELECT, INSERT, UPDATE, DELETE ON `laravel`.*
TO 'laravel_user'@'%';

USE `laravel`;
If you want to connect to this database, then you can connect directly to this container (LEMP server)
> docker exec -it laravelwebapp /bin/bash
Once into the server, you can simply start up the command line client using the command below.
> mysql
You will be logged in as root. This is considered safe in a development environment, but using root in production should be avoided.
To show databases
mysql> show databases;
mysql> show databases;
+--------------------+
| Database           |
+--------------------+
| information_schema |
| laravel            |
| mysql              |
| performance_schema |
| sys                |
+--------------------+
5 rows in set (0.00 sec)
You can see the Laravel data that has been created. The credentials for this database are already populated in the .env file.
DB_CONNECTION=mysql
DB_HOST=127.0.0.1
DB_PORT=3306
DB_DATABASE=laravel
DB_USERNAME=laravel_user
DB_PASSWORD=password
If you want to test the DB connection in your Laravel application, you can check this using tinker.
> php artisan tinker
tinker> DB::connection()->getPdo();
php artisan migrate:status
MySQL from local machine
You can also connect to the MySQL database inside of the docker container from your local machine.
To do this, simply use the credentials below
Use the credentials in the command below to access mysql in your docker container.
- Host: 0.0.0.0
- User: laravel_user
- Password: password
> mysql -h 0.0.0.0 -u laravel_user -p
The details for this used and password are actually stored in an sql file which is used to configure the database config file in the previous section where you can set up databases, users and tables etc.